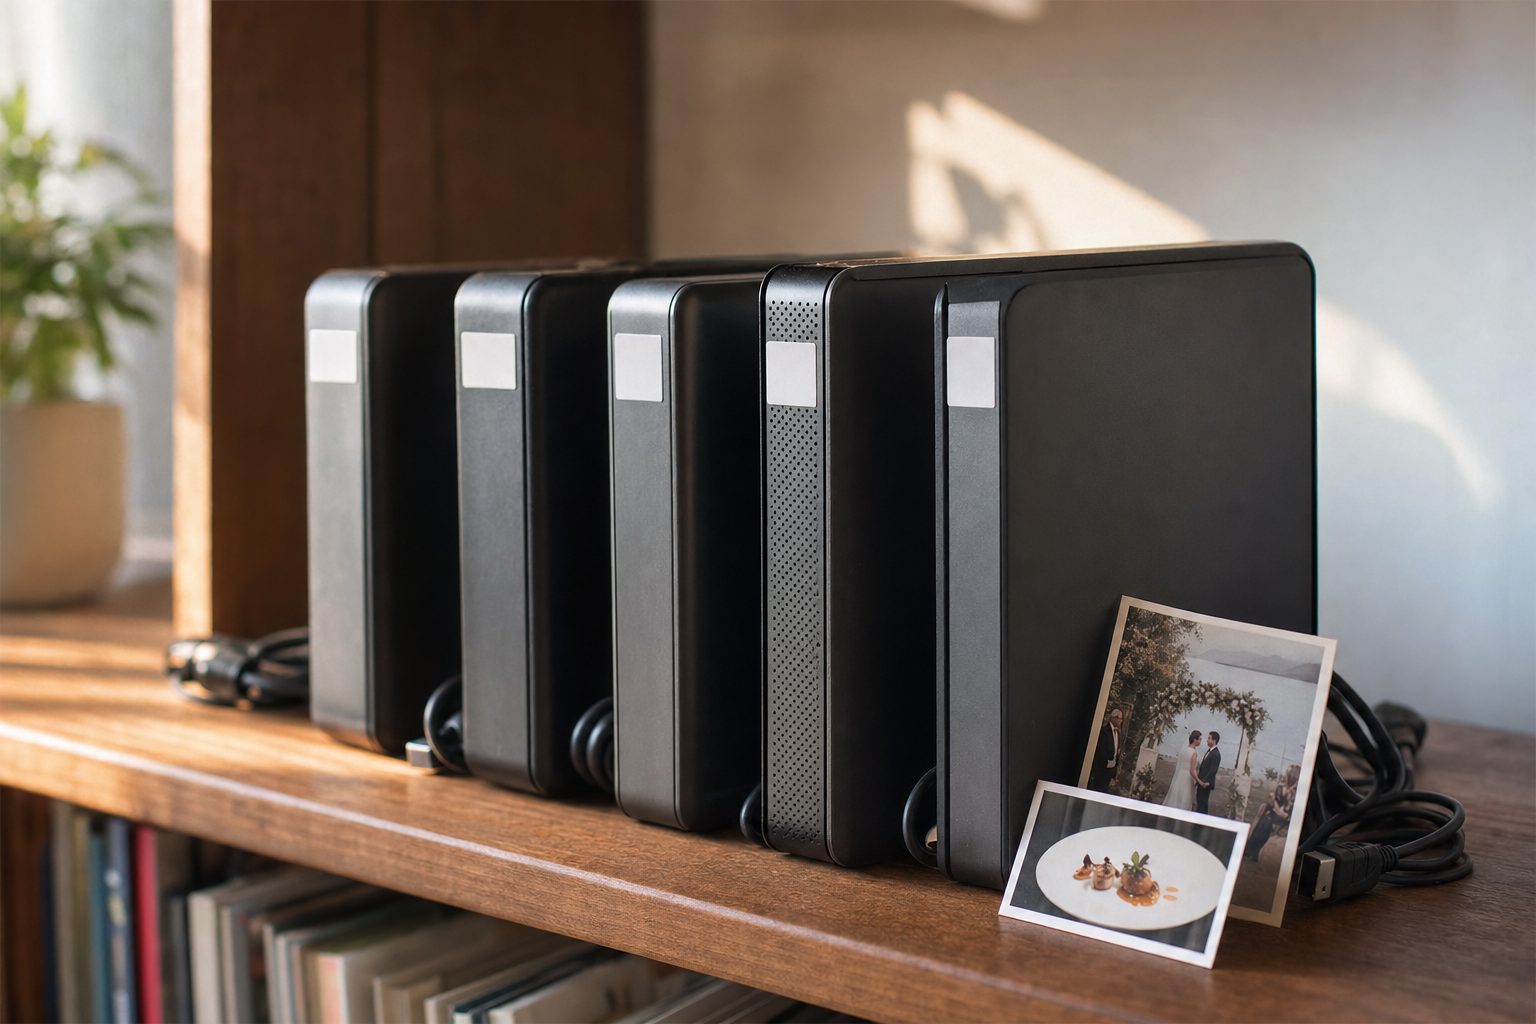
Your photo archive is a shelf of external hard drives labeled Backup, Backup 2, and PHOTOS FINAL, and a client just asked for a headshot you shot three years ago. You know it is on one of these drives. You just have no idea which one, and no way to look without plugging in each drive and scrolling.
Most guides stop at "make folders by year." That is the easy half. The harder half is what to do when the archive outgrows a shelf and you still cannot find the one shot you need. We will build the free system first, then draw that line honestly.
Build a folder structure that survives a shelf of drives
The most useful habit on a drive is picking one folder shape and never deviating from it. A good default is Photos / 2026 / product-launch / selects: a single top-level Photos folder, then a folder per year, then a folder per shoot or project, then a selects subfolder for the approved frames so nobody digs through 400 raw shots to find the 8 that matter.
Three levels is enough. Deeply nested trees feel organized and are miserable to click through. The Library of Congress personal archiving guidance makes the same point: pick a simple, consistent structure and apply it everywhere, because consistency matters more than cleverness.
Tip. Resist organizing by topic at the top level (
weddings,food,interiors). Topics overlap, so a photo can belong to two of them, which forces a filing decision you will get wrong later. Time then project is unambiguous: a shoot happened on one date for one job.
The rule that pays off across multiple drives: the folder shape is identical on every drive. When Backup 2 has the same year and project layout as the working drive, you can reason about where a shoot lives without opening it. A drive full of one-off New folder names is a drive you search by hand every time.
Name files so the date does the sorting
A folder tells you which project a photo belongs to. The filename is what any search box, on any operating system, can actually match. A file called IMG_4827.JPG is invisible; a file called 2026-06-12_launch_rooftop-toast_014.jpg is findable the moment you type "rooftop" or "launch."
A convention that works on a drive: date first (2026-06-12) so files sort chronologically across the entire archive no matter which folder they sit in, then a short project code (launch), then two or three words for what the selects show (rooftop-toast), then a padded sequence number (014). Rename in batch as each shoot lands, not months later when you have forgotten what it was.
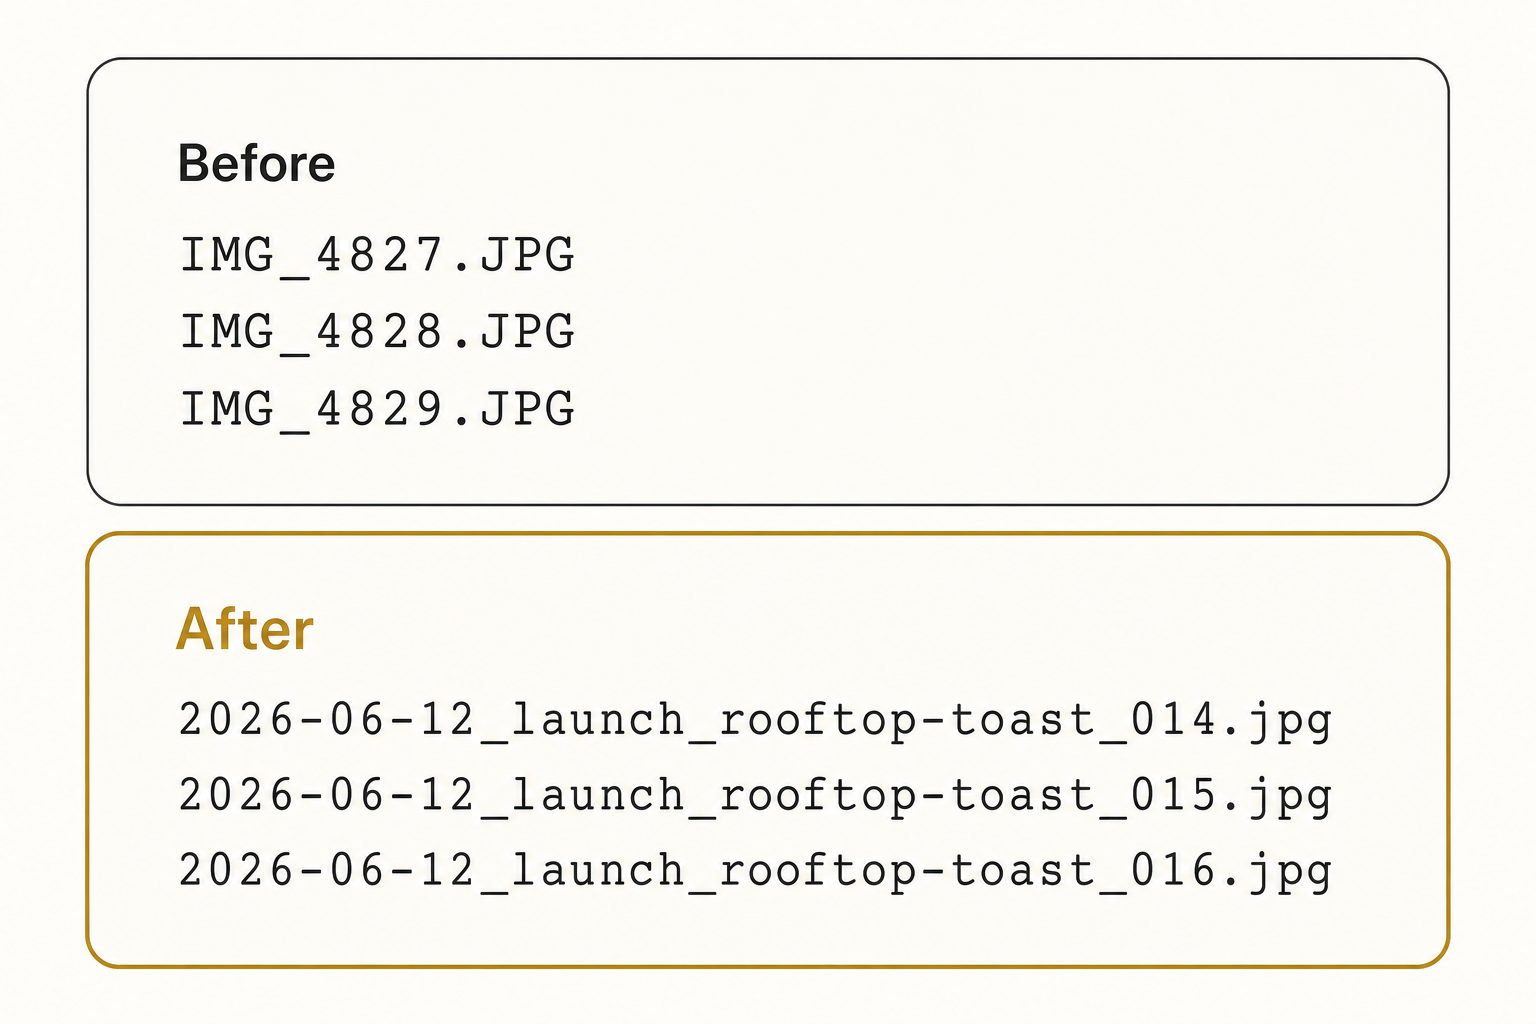
Date-first naming earns its keep on a drive. Because the date is in the filename, a plain file listing sorts your whole archive in order, which makes "the shoot from around May 2024" a scroll to the right spot rather than a hunt. The full system, including portable character rules and version suffixes instead of final_v2, is in our guide to photo file naming conventions.
Note. If your existing files are a mess of camera numbers, a batch renamer that reads the EXIF date taken can back-fill dated filenames in one pass. That gives you the chronological sort even for years of old shoots you never named.
Follow the 3-2-1 rule so one drive is never the only copy
Here is the uncomfortable fact about external drives: a hard drive is a mechanical part, and every mechanical part fails eventually. Large-scale reliability data like Backblaze's ongoing Drive Stats shows even good drives failing at a steady annual rate, so a single drive holding your only copy of ten years of work is not an archive, it is a countdown.
The standard answer is the 3-2-1 rule, and Backblaze's explanation of the 3-2-1 backup strategy is the clearest version: keep three copies of your photos, on at least two kinds of storage, with one copy off-site. In practice that is the working drive, a second drive that mirrors it, and an off-site copy in the cloud or a drive kept somewhere else.
Warning. A backup is only as current as the last time you ran it. Set a schedule, weekly for active work, and keep it, because the gap between your last backup and a drive failure is exactly the work you lose.
That off-site cloud copy does double duty. Once a working archive lives in Google Drive or Dropbox as well as on the drive, it is both backed up and reachable by the one thing a drive can never offer: search by what the photo shows.
Where the external drive stops being findable
The free system above keeps a drive tidy, portable, and backed up. It has one hard ceiling, and every guide that skips it is selling you folders you do not need.
An external drive can only be searched by what the file system knows: the filename, the file type, the date. Your operating system will happily find 2026-06-12_launch_014.jpg by name or by date.
It cannot find "the rooftop sunset toast" because nothing on the drive records that the photo shows a rooftop, a sunset, or a toast. The picture is fully visible to your eye and completely invisible to search.
Two things make this worse on drives specifically. An offline drive on a shelf is invisible to everything, so even the filename search only works on the one drive currently plugged in. And a shelf of drives has no index spanning them, so "which drive is that shoot on" is a question no search can answer.
This is the 1,000-photo wall in its most physical form: a library has outgrown anyone's memory, and it is also split across hardware you plug in one at a time.
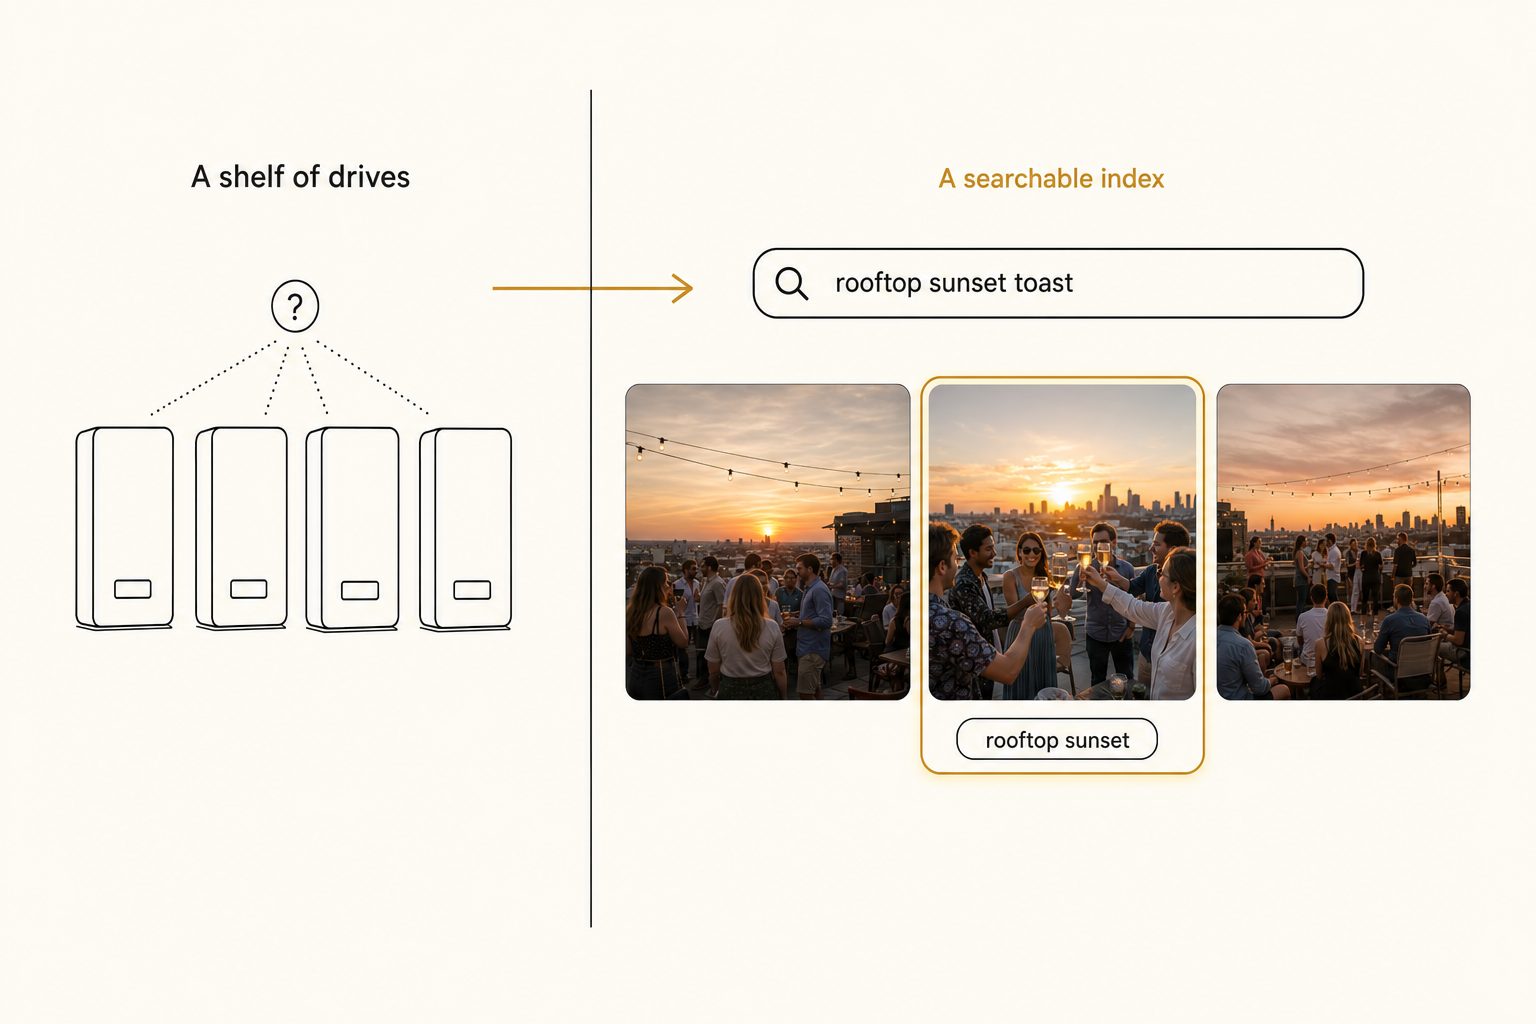
The fix is not a better drive or a cleverer folder name. It is a search layer that has read every photo once and written down what each one shows, so you search the archive by content instead of by which drive it lives on. Because that layer needs the photos reachable, the practical move is to mirror your working archive to a cloud folder first, which is the off-site backup you were going to make anyway.
A connected AI photo catalog then reads that Google Drive or Dropbox folder with read-only access, looks at every image, and writes tags plus a sentence of description into a searchable index, with your files untouched.
That first pass ran unattended in the background. After it, any frame comes back from a description search in seconds, regardless of which original drive holds the file. This is a category, not one product, and the full setup is in our guide to how to catalog photos.
Tip. You can test the search layer on one folder before mirroring your whole shelf. Tagrly's free tier catalogs the first 500 photos in any Drive or Dropbox folder, no credit card, so you can point it at one real shoot and judge the tags against your own shots.
Which approach fits your archive
There is no single right way to organize photos on an external hard drive, only the right one for your size and how you work.
- Pick folders, filenames, and the 3-2-1 rule and nothing else if your archive is under a few thousand photos and you work alone. The free layer genuinely holds, and the pillar guide to finding any photo in your library covers how far it stretches.
- Pick Lightroom or a desktop keyworder (Excire, Mylio) if you are a solo editor who lives in one app and keywords during culling. That gives you content search on the machine the drive plugs into, though not across a team.
- Pick a connected AI catalog if the archive is past the wall, spans multiple drives, and more than one person needs to find things in it. Mirror the working set to Drive or Dropbox and index it in place. Tagrly is one option in this tier.
- Pick a full migration off drives entirely only if you are ready to move storage. Most people should not; drives are cheap, portable backups, and the smarter move is to keep them and add a search index on top.
Consolidating scattered drives always surfaces duplicates, and clearing them before you index anything saves wasted tagging effort. The method is in deduplicating a messy photo library.
Organizing photos on an external hard drive is three free habits: a shallow year-and-project folder tree, date-first filenames, and the 3-2-1 backup rule. Do those and the drive stays tidy, portable, and safe. When the thing standing between you and a photo is "which drive is it on," mirror the archive to a cloud folder and let a catalog read the photos for you so you search by what the shot shows instead of by hardware.
Frequently asked questions
What is the best folder structure for photos on an external hard drive?
Keep it shallow and time-based: one top-level Photos folder, then a folder per year, then a folder per shoot or project, with a selects subfolder for the approved frames. Three levels is plenty. Never drop photos loose at the root of the drive, and avoid organizing by topic at the top level, because one photo can belong to two topics and you will guess wrong later. Time then project is unambiguous: a shoot happened on one date for one job. The same structure works whether the archive lives on one drive or spans a shelf of them, which keeps every drive predictable.
How do I find a specific photo across several external hard drives?
This is where drives break down. An offline drive sitting on a shelf is invisible to any search, and even a plugged-in drive can only be searched by filename and date, never by what a photo actually shows. So finding one shot means guessing which drive it is on, plugging it in, and scrolling. The durable fix is to mirror your working archive to a cloud folder and add a search layer that has read every photo and recorded its contents. Then you type a plain-English description and get the shot back regardless of which drive holds the original.
How many copies of my photo archive should I keep?
Follow the 3-2-1 rule: three copies of your photos, on at least two different kinds of storage, with one copy kept off-site. A single external hard drive is one copy, and a drive is a mechanical part that will eventually fail, so one drive is not a backup. In practice that means the working drive, a second drive that mirrors it, and an off-site copy in the cloud or a drive stored somewhere else. Back up on a schedule, because a backup is only as current as the last time you ran it.
Can I search photos on an external hard drive by what's in them?
Not with the drive alone. Your operating system can search an external drive by filename, file type, and date, and desktop apps like Lightroom can search keywords you added by hand. None of them read the pixels, so a search for sunset returns only photos with sunset already typed into the name or a keyword. To search by content, you need a tool that has looked at each image and written down its focal subject and scene. The practical path is to mirror the archive to Google Drive or Dropbox and point a connected AI catalog at it, which reads every photo and makes the whole archive searchable by description.
Should I organize photos on the drive or in software?
Do both, in that order. Organize the files first, because a clean folder tree and real filenames are portable and survive any app you later drop. Then add software on top for the jobs files cannot do: keywording, ratings, and content search. Solo editors get that from Lightroom or a desktop keyworder like Excire. Teams whose photos live in Drive or Dropbox get it from a connected catalog that indexes photos in place. The files stay the source of truth; the software is the index that makes them findable.
Try Tagrly on your own photo library
Connect your Google Drive or Dropbox folder and Tagrly will tag every photo in bulk. Search by what is actually in the image, share specific shots with clients, and never lose a photo again.
- Free for your first 500 photos
- Read-only access, revoke anytime
- No credit card