
A client asks for the lighthouse shots from the 2023 coastal shoot. Your Mac has them, somewhere in 9,000 files named IMG_7204.HEIC, and neither Finder nor Spotlight has a single word to search on. Tagging is the built-in fix, and a Mac actually ships with two tagging systems, each with a different catch.
The two ways to tag photos on a Mac
macOS gives you two unrelated tagging systems, and they never talk to each other.
Finder tags work on any file in any folder: photos, PDFs, anything. They show up as colored dots, live in the Finder sidebar, and are searchable in Spotlight. Use them if your photos live in ordinary folders.
Apple Photos keywords only exist inside the Photos app, for photos imported into its library. They power the app's search and Smart Albums, and they stay invisible to Finder and Spotlight. Use them if Photos is already your library.
Tagging a photo in one system does nothing in the other. Pick one before you type your first tag, because migrating later means retyping.
How to tag photos with Finder tags
Tag one photo or a whole batch
- In Finder, select the photo. For a batch, click the first and Shift-click the last.
- Right-click the selection and choose Tags...
- Type a keyword, for example
lighthouse, and press Return. Repeat for each tag. - Click anywhere outside the popover to finish. Every selected file now carries the tags.
The same field appears in the Get Info window (Command-I) and under File > Tags in the menu bar. Apple's own guide to tagging files and folders covers renaming tags and setting favorites.
The habit that keeps this sustainable is tagging at intake. When a shoot lands on the Mac, select the whole batch and stamp the event-level tags (coastal shoot, 2026, client-jensen) in one pass, then add a subject tag to just the keepers.
Find tagged photos again
Click a tag's name in the Finder sidebar to see everything that carries it, across every folder at once. Or type the word into a Finder search box and pick the Tags suggestion. Spotlight understands tag:lighthouse too.
That cross-folder view is genuinely useful: a tag collects photos from a dozen project folders without moving a single file. It is the closest thing to search-by-content the Finder offers, as long as somebody typed the words first.
Adding keywords in Apple Photos
If your library lives in the Photos app, keywords are its native tag system. Select one or more photos and type into the keyword field of the Info window (Command-I), or open Window > Keyword Manager for the faster route: saved keywords get single-key shortcuts, so tagging a filtered set becomes a few keystrokes per photo. Apple documents the details in its keywords help page.
Keywords feed the app's search field and Smart Albums, so a rule like "keyword is lighthouse" builds an album that maintains itself.
Photos also does some tagging for you. Its on-device recognition finds broad categories, so searching for "beach" or "dog" works without any keywords. It stops at categories, though: it cannot tell the red lighthouse from the white one, and its smarts never leave the app.
Note. Photos keywords live in the library database, not in your photo files. If you export photos to send anywhere, the keywords only come along if you check "Title, Keywords, and Description" in the export dialog, which writes them into the exported file's embedded metadata.
Where Mac photo tags stop working
Here is the catch the step-by-step guides skip: neither system writes tags into the photo file itself, so neither tag reliably survives leaving its home.
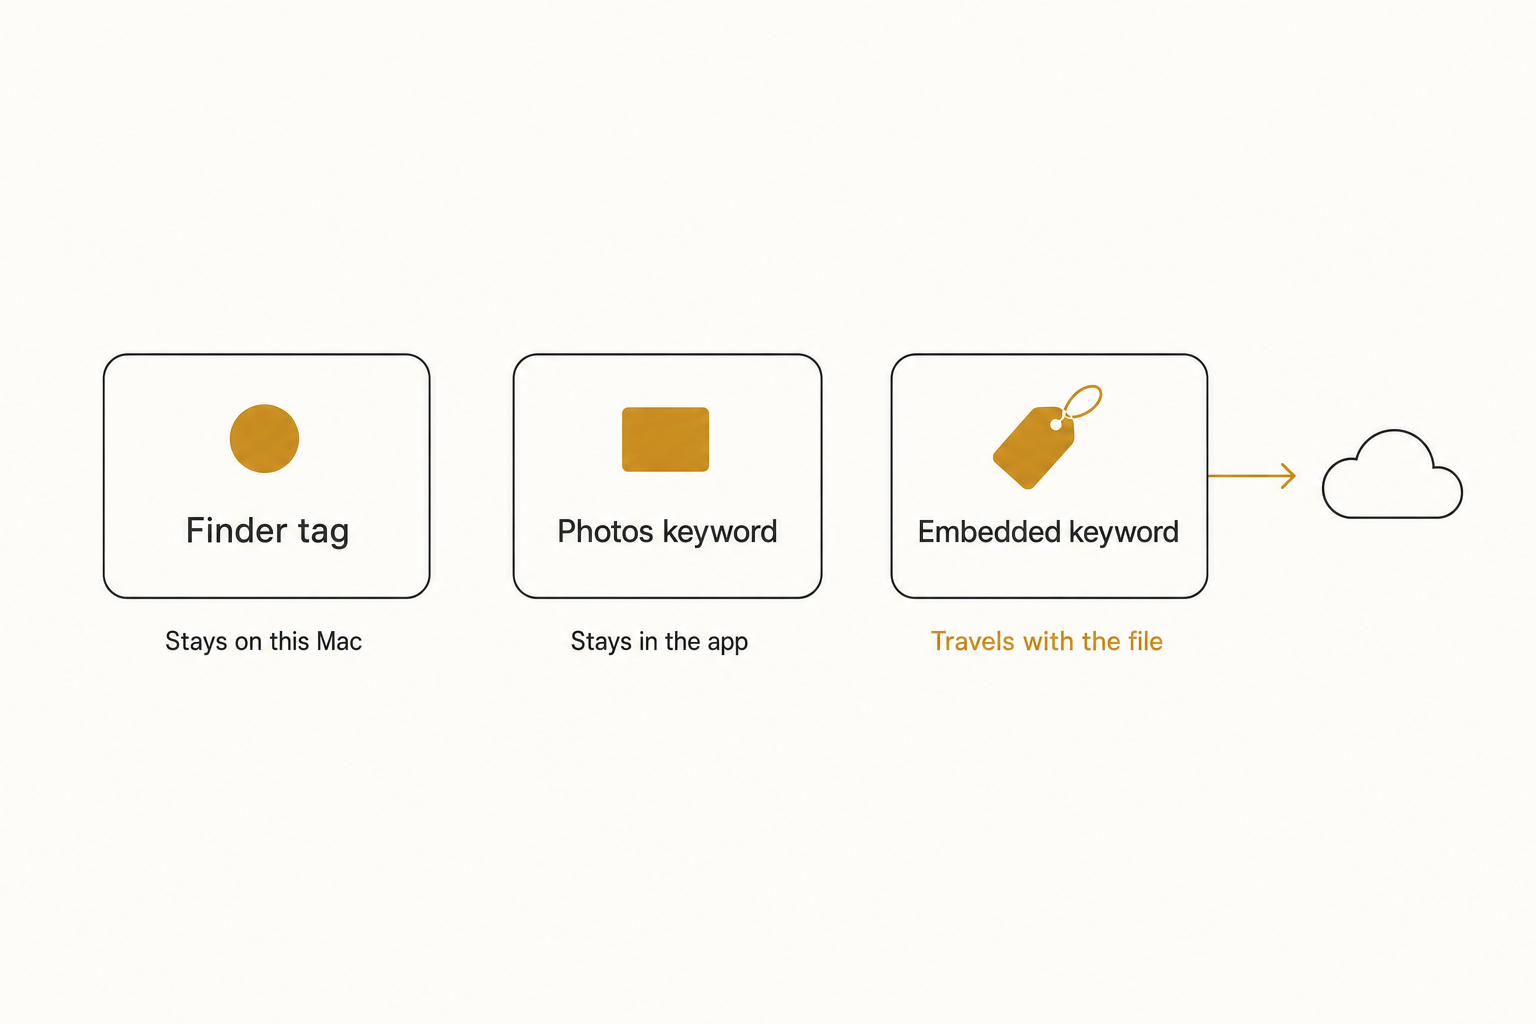
A Finder tag is a note the file system keeps alongside the file. iCloud Drive preserves it across your own Macs, and some sync clients carry it Mac to Mac.
But upload the photo through a web page, attach it to an email, or open the folder on a Windows machine, and the tag is gone. Google Drive and Dropbox search never read Finder tags, even when the files themselves sync perfectly.
A Photos keyword is locked one layer deeper, inside one app's database on one person's account. Nobody else can search it, and the original file in a shared folder knows nothing about it.
This is the mirror image of the Windows situation, where tags are written into the file but only JPEG and TIFF accept them. Tags that do travel live in the photo's embedded metadata fields, the EXIF and IPTC layers we unpack in what photo metadata actually is.
The quieter limit is arithmetic. Every tag is a word a person typed, at a realistic pace of 100 to 200 photos per hour. That works below the 1,000-photo wall, the point where a library goes opaque faster than any human types, and fails above it.
You tagged lighthouse; two years later you search beacon and get nothing.
How to tag photos at scale on a Mac
Free and built-in. Finder tags at intake cover a modest folder library on one Mac at zero cost. For keywords that travel inside the files, RAW included, the free command-line tool ExifTool writes embedded keywords into hundreds of photos in one command, if a terminal does not scare you.
Cheap desktop tools. Excire Foto generates AI keywords locally on the Mac, and the free, open-source digiKam adds fast manual keywording and face recognition. Both keep everything on your machine, which is their strength (nothing leaves the Mac) and their limit (nobody else can search it). Pricing varies; check their current pages. The desktop keyworder path is covered in our guide to automatic photo keywords.
A connected AI catalog. For a library that lives in, or can mirror to, Google Drive or Dropbox, a catalog service reads each photo with read-only access and writes a focal-subject label, a set of tags, and a one-sentence description into a searchable index shared by the whole team. A full indexing pass runs unattended in the background.
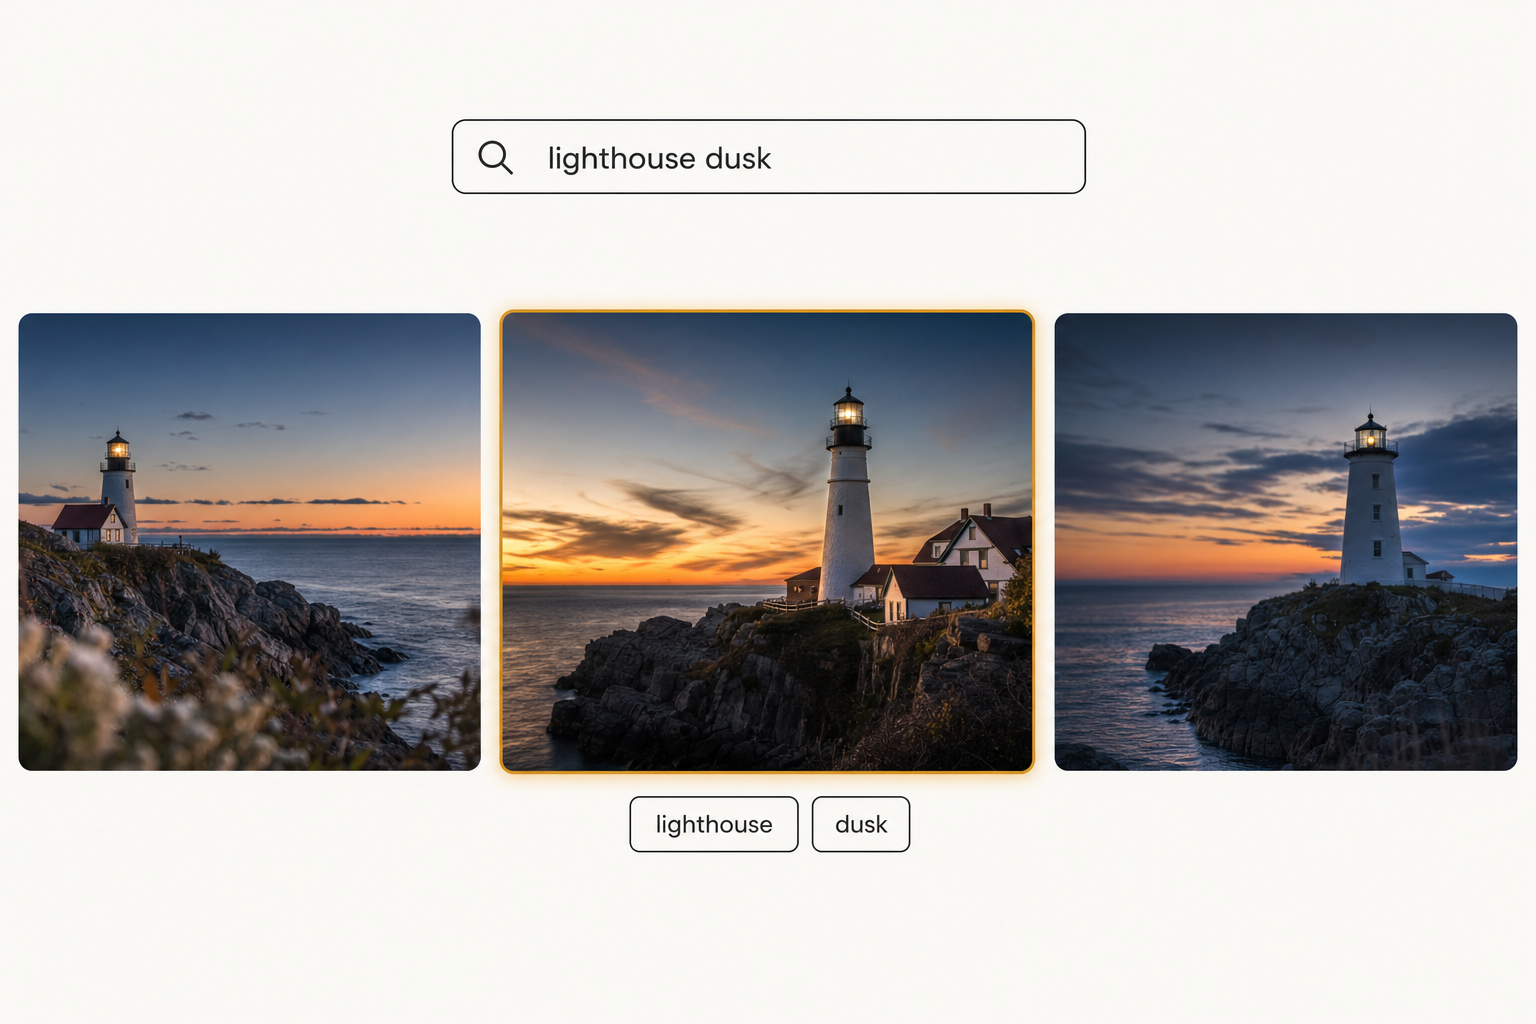
After that pass, search stops depending on what anyone remembered to type. "Lighthouse dusk" finds the shot even though nobody ever tagged it, and it finds it for everyone on the team, not just the person whose Mac holds the tags. Tagrly is one option in this category.
Tip. Tagrly's free tier reads the first 500 photos in any Drive or Dropbox folder, no credit card. Try it on a real folder and search for something you know you never tagged.
Which approach fits your library
- Pick Finder tags if your photos live in folders, the library is under about 1,000 photos, and you can tag at intake. Free, instant, and searchable in Spotlight.
- Pick Apple Photos keywords if the Photos app is already your library and you work alone. The Keyword Manager makes hand tagging as fast as it gets.
- Pick ExifTool or a desktop tagger (Excire Foto, digiKam) if you need keywords written into the files themselves, or AI keywording that never leaves the machine.
- Pick a connected AI catalog (Tagrly is one example) if the library runs to thousands, it lives in or can mirror to Drive or Dropbox, and more than one person needs to find things.
Both of the Mac's built-in tag systems are worth using, and both stop at the same two fences: the tags rarely survive leaving the Mac, and every one of them costs a person's typing time. Past the wall, the fix is not typing faster, it is letting software describe every photo once, in a place the whole team can search. The quickest way to judge whether that is worth it for your library is to run a content search on 100 of your own photos and look for a shot you never tagged.
Frequently asked questions
How do I tag photos on a Mac?
There are two built-in ways. In Finder, select one or more photos, right-click the selection, choose Tags, and type a keyword, pressing Return after each one; the tags apply to every selected file. In the Apple Photos app, select photos and either type into the keyword field of the Info window or open the Keyword Manager from the Window menu, which lets you assign saved keywords with single-key shortcuts. Finder tags work on any file in any folder, while Photos keywords only exist for photos imported into your Photos library. Both are typed by hand, so budget real time for a large library.
What is the difference between Finder tags and Apple Photos keywords?
They are two separate systems that never see each other. A Finder tag is a note the Mac's file system keeps alongside the file; it works on any file, shows up in the Finder sidebar, and is searchable in Spotlight, but it is not written inside the photo. An Apple Photos keyword lives in your Photos library database; it is searchable inside the Photos app and can drive Smart Albums, but it is invisible to Finder and Spotlight. Tagging a photo in one system does nothing in the other, so pick one deliberately: Finder tags for folder-based libraries, Photos keywords for a library that lives in the Photos app.
Do Finder tags stay with my photos when I upload or share them?
Usually not. Finder tags are stored next to the file by the Mac's file system, not inside the photo itself, so they only survive where that bookkeeping travels. iCloud Drive keeps them across your own Macs, and some sync clients carry them Mac to Mac. But upload a photo through a web page, attach it to an email, or hand it to a Windows machine and the tag is gone. Google Drive and Dropbox search never read Finder tags either, even when the files sync fine. If you need keywords that travel inside the file, they have to be written to the photo's embedded metadata, which is what tools like ExifTool or the Photos export option do.
How do I search photos by tag on a Mac?
For Finder tags, click the tag's name in the Finder sidebar to see everything carrying it, or type the tag into a Finder search and choose the Tags suggestion. Spotlight understands the same idea with the tag: prefix, for example tag:lighthouse. For Apple Photos keywords, type the keyword into the search field inside Photos, or build a Smart Album with a keyword rule so matching photos collect themselves automatically. The catch in both systems is that search only matches words someone typed. If nobody tagged the shot, no tag search on the Mac will ever find it.
Can my Mac tag photos automatically?
Partly. The Photos app runs on-device image recognition, so searching it for broad categories like beach, dog, or birthday cake finds matches without any tagging. It stops at categories, though: it cannot distinguish the red lighthouse from the white one, it only covers photos imported into your Photos library, and its results cannot be shared with a teammate or exported as tags. Finder has no automatic tagging at all. For generated tags at scale, the options are desktop tools with AI keywording, such as Excire Foto, or a connected AI catalog that reads a Drive or Dropbox folder and writes a searchable description for every photo. Tagrly is one example of the second kind.
Try Tagrly on your own photo library
Connect your Google Drive or Dropbox folder and Tagrly will tag every photo in bulk. Search by what is actually in the image, share specific shots with clients, and never lose a photo again.
- Free for your first 500 photos
- Read-only access, revoke anytime
- No credit card