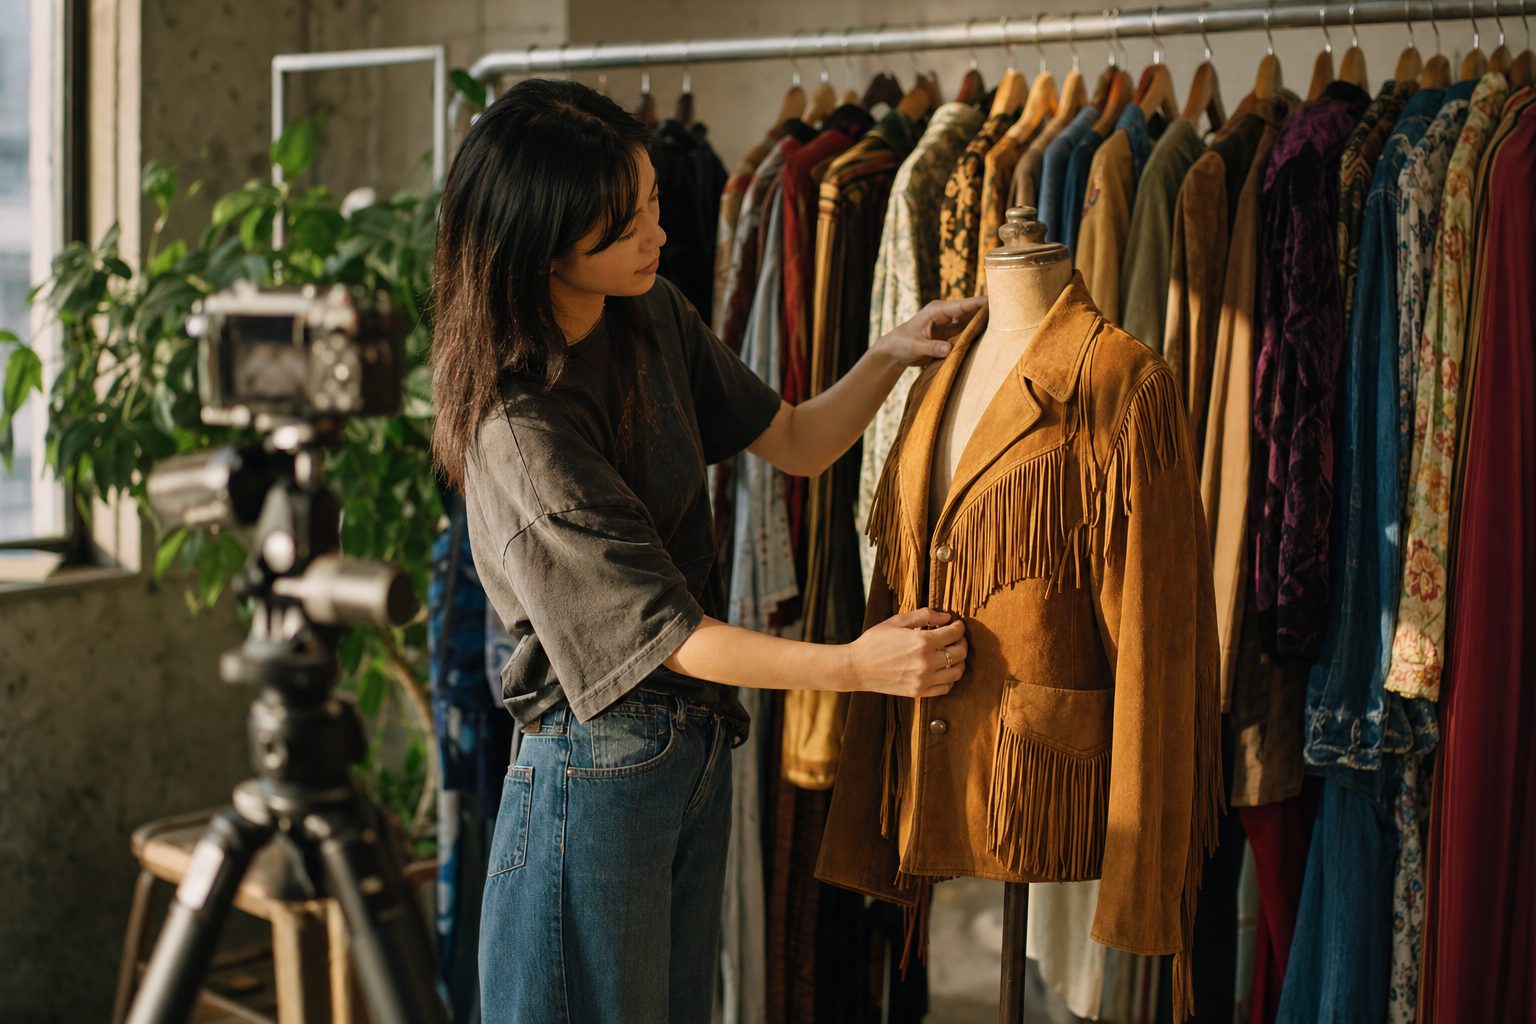
A buyer messages you at 9pm asking if the 1970s suede fringe jacket is still available, and whether you can send a shot of the back. You photographed that jacket eight months and roughly nine hundred items ago. The back shot exists, somewhere in a camera roll between a care-label close-up and a screenshot.
Why vintage inventory photos are harder than store product shots
Vintage inventory photos are harder because every piece is one of a kind. A regular store shoots one product and sells it two hundred times; a vintage seller shoots two hundred products and sells each one once.
One-of-a-kind inventory changes three things:
- Every set is irreplaceable. Once the piece sells, there is no re-shoot.
- There is no SKU to file by. No two items repeat, so no product code exists to hang the photos on.
- The library churns constantly. Pieces arrive by the bin, sell, and get replaced, so the archive grows by hundreds of photos a month even when the rack count stays flat.
Stores with repeatable products can file by product code, the approach in our e-commerce product photo guide. Vintage never gets that shortcut: the photos themselves are the inventory record.
The free layer: a shot list and a filing method for one-of-a-kind pieces
Two free habits do most of the work before any tool: shoot every item the same way, and give every item an ID.
The per-item shot list
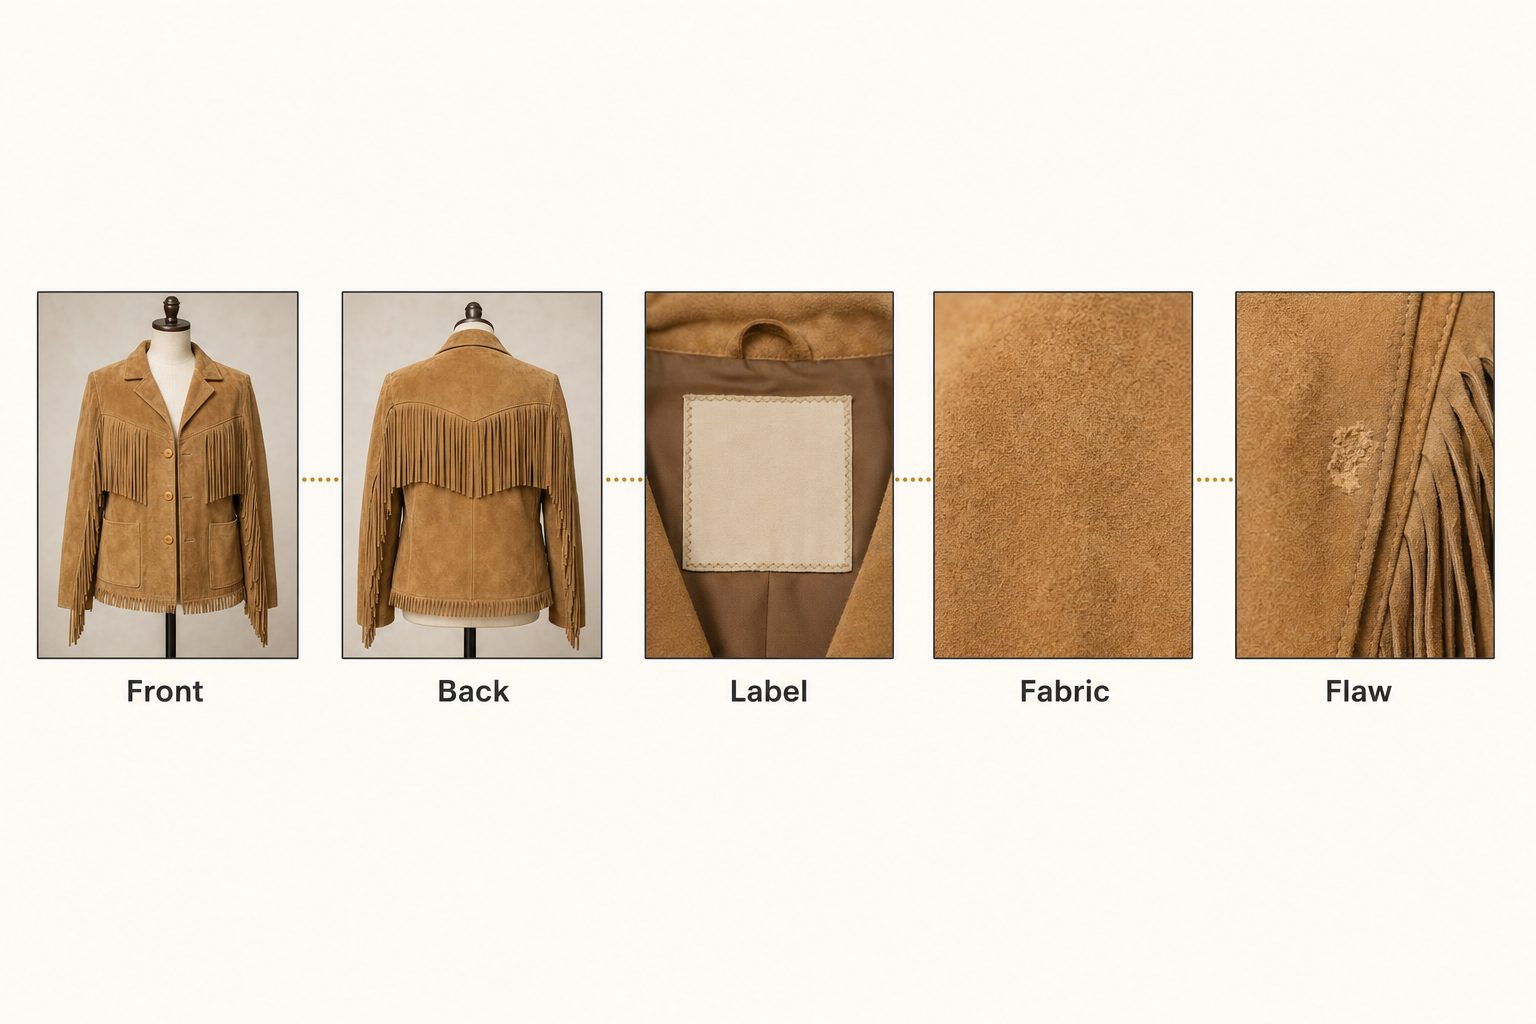
Shoot six to ten frames per piece, in the same order every time:
| Frame | Why it matters |
|---|---|
| 1. Front on the form | The lead listing image, and the shot buyers judge fit from |
| 2. Back | The first extra shot a buyer asks for |
| 3. Brand and care label | Brand, size, and fiber content, the facts that set the price |
| 4. Fabric close-up | Texture and weave that a full-length frame hides |
| 5. Every flaw, one frame each | Your proof of condition if a buyer disputes later |
| 6. Measurements, if the piece runs odd | Vintage sizing rarely matches a modern tag |
A fixed order means the third frame is always the label. Cross-posting a piece to a second platform then means picking frames, not re-editing a set.
Warning. Photograph every flaw even when the listing only needs one or two. A condition dispute can arrive months after the sale, and the intake photo of that seam is the only evidence you will ever have. You cannot re-shoot a garment that now lives in another state.
Name by item ID, not by memory
Give every piece a number at intake and put it in every filename: 0412-suede-fringe-jacket_back.jpg. Folder by intake month, and keep one business-owned home for everything, a shared drive in Google Workspace or a Dropbox folder rather than a personal camera roll. If a helper handles intake one week, or your phone dies, the archive survives.
Split live from sold
Keep two top-level folders, Live and Sold, and move a piece's set the day it ships. Never delete a sold set, because it keeps working:
- Pricing comps. The next similar piece gets priced against this one.
- Proof of condition. The intake frames answer a buyer dispute.
- A sales record. You can see which styles sold in which season.
The 1,000-photo wall arrives fast in vintage
A part-time vintage reseller usually hits the 1,000-photo wall in the second month: eight frames per item at twenty-five items a week is about 800 photos a month. Our complete guide to bulk image tagging defines the wall as the point where a library gets too big to remember and too big to rename your way out of.
IDs and filenames only hold what you typed at intake. They cannot answer the questions you ask later:
- By look. "Every green velvet piece live right now."
- By detail. "All the western wear with fringe."
- By a buyer's memory. "That blazer with the gold buttons," half-described in a message.
Folders force you to predict, at intake, every way you might search later, and nobody can. A camera roll already holding a few thousand inventory shots is past the wall today.
AI tagging for vintage clothing inventory photos
AI tagging fixes the wall by reading the photos themselves, so you search by what a garment looks like instead of what you typed at intake. An AI photo catalog sends each image to a vision model and writes tags plus a descriptive sentence for every frame: the garment, its color, the fabric, the hardware, the styling era it evokes.
Tagrly, one tool in this category, offers two routes that fit a reseller:
- Connect a folder. Link Google Drive or Dropbox with read-only access, and your originals never move.
- Upload from the device. Send photos straight from your phone, or a folder or zip from a computer. Tagrly stores those copies, which suits a camera roll with no cloud home yet.
The discipline that makes this work on clothing is focal-subject tagging. The garment is the focal subject ("suede fringe jacket, western yoke"), while the dress form, backdrop, and props stay context tags ranked below it. That ranking is why a search for "fringe jacket" returns the jackets, not every photo with your form in it.
The full method is in the 3-tier focal-subject tagging method. In Tagrly's own testing on a 5,000-photo set, focal-subject tagging surfaced the correct top match in roughly 9 of 10 searches. That hit rate is the difference between searching inventory by description and scrolling eight months of camera roll.
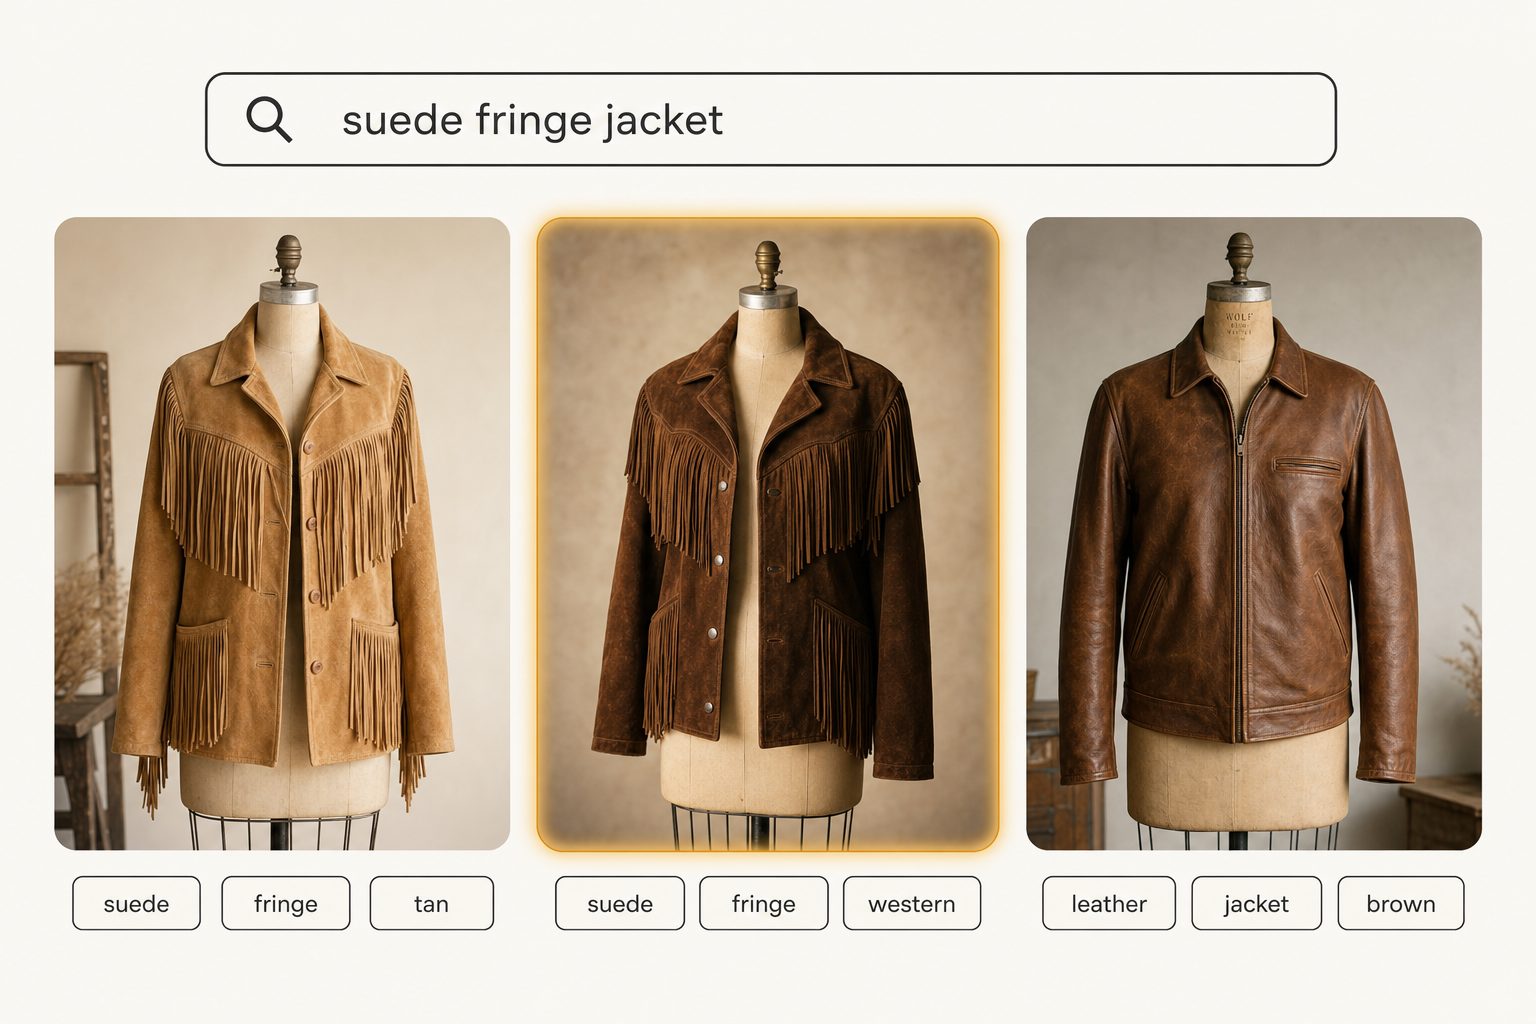
Tagrly is not the only tool that connects to cloud storage, so judge any of them on the words they produce for your own racks. Tagrly bills in credits, one per photo read: a plan's monthly allowance covers new intake, and an existing backlog can go on a one-time credit pack, both on the pricing page.
AI tagging has two limits on vintage. A vision model reads silhouette, fabric, and hardware well and often places decade-level styling cues, but it cannot authenticate a label or date a piece to the year. Keep a human check on brand and era where those two facts drive the price, the split covered in AI tagging vs. manual keywording.
If you also sell from your own site, the same pass writes editorial-grade alt text: full sentences that meet the W3C's image accessibility guidance, not comma-separated tags. On WordPress, Tagrly's plugin brings photos into your Media Library with that alt text attached, and its write-back button fills only empty alt fields, never overwriting alt text you wrote. Other sites can pull it through the API.
Tagrly's page for e-commerce brands shows that route on product shots, and our guide to alt text for product images covers what each description should say.
Tip. Tagrly's free tier reads your first 500 photos, no credit card. Point it at one month of intake shots and search "velvet" or "fringe" against your own inventory before deciding anything.
Which setup fits your racks
The right setup depends on how many pieces you carry and whether you cross-list.
- Under a couple hundred items on one platform. Your camera roll and the platform's own listing photos are enough. Start the item-ID habit anyway; it costs nothing.
- Cross-listing, or past the 1,000-photo wall. Keep the shot list and IDs, give the archive one business-owned home, and add an AI catalog so you can search by what a piece looks like. Tagrly is one option.
- Solo seller who wants the photos to stay on one computer. A buy-once desktop tagger such as Excire Foto or ON1 Photo Keyword AI fits better than a subscription; current prices are on their sites.
- A resale operation with staff and thousands of live pieces. Your inventory or cross-listing system stays the record of what is for sale; add a searchable catalog over the photo archive for the find-that-piece job it cannot do.
Vintage clothing inventory photos come down to one rule: every set is a one-shot record. Shoot each piece like it can never be re-taken, file it by ID in a home the business owns, and when the wall arrives, let a catalog read the racks for you. The surest test of that last step is a piece you half-remember: search for it in your own photos and see whether it comes back first.
Frequently asked questions
How should I organize vintage clothing inventory photos?
Anchor everything to an item ID instead of a SKU, because no two vintage pieces repeat. Give each garment a number at intake, put that number in every filename (like 0412-suede-fringe-jacket_front.jpg), folder by intake month, and keep one business-owned home for the archive, a shared drive or a Dropbox folder rather than a personal camera roll. Split the library into Live and Sold at the top level and move a piece's set the day it sells. That free system carries most resellers to roughly 1,000 photos. Past that point, an AI photo catalog that reads each image lets you search by what a garment looks like, its color, fabric, and details, instead of relying on what you typed at intake.
How many photos should I take of each vintage item?
Six to ten frames, in the same order every time: front on the form, back, brand and care label, a fabric close-up, one frame per flaw, and a measurement shot if the piece runs odd. The reason to over-shoot is that vintage is one of a kind. Once the piece sells, there is no re-shoot, ever, so the intake set is the only record of that garment you will ever have. A consistent order also makes cross-posting simpler, because you always know which frame is the label and which is the flaw without opening each file.
Can AI identify the era or brand of a vintage garment from a photo?
Partially, and it is worth being precise about the limits. A vision model reads silhouette, fabric, hardware, and construction details well, and it will often describe decade-level styling cues, like a western yoke or a 1970s-style collar. What it cannot do is authenticate a label or date a piece to a specific year, and it will not guess a brand it cannot see. The practical workflow is to treat AI tags as the searchable base layer for the whole archive, then do a human check on brand and era for the pieces where those two facts drive the price.
How do I find a photo of a piece I photographed months ago?
If you filed by item ID and logged the piece, search the ID and the whole set comes back. If the archive predates any system, which is the usual case, an AI photo catalog is the practical fix. It reads every photo, whether it sits in Google Drive or Dropbox or was uploaded straight from your phone, and tags what each frame shows. You type a plain description like 'green velvet blazer, gold buttons' and the matching frames come back ranked, best match first, even when the buyer describing the piece never knew its listing title. In Tagrly's own testing on a 5,000-photo set, focal-subject tagging surfaced the correct top match in roughly 9 of 10 searches.
Should I keep photos of sold vintage items?
Yes. Archive them, do not delete them. Sold-item photos are your pricing comps the next time a similar piece comes through intake, your proof of condition if a dispute arrives months after the sale, and a record of which styles sold in which season. Move each set to a Sold folder the day the piece ships so your live library stays clean, and keep the Sold folder inside the same searchable archive so an old set is as findable as a live one.
Try Tagrly on your own photo library
Connect your Google Drive or Dropbox folder and Tagrly will tag every photo in bulk. Search by what is actually in the image, share specific shots with clients, and never lose a photo again.
- Free for your first 500 photos
- Read-only access, revoke anytime
- No credit card